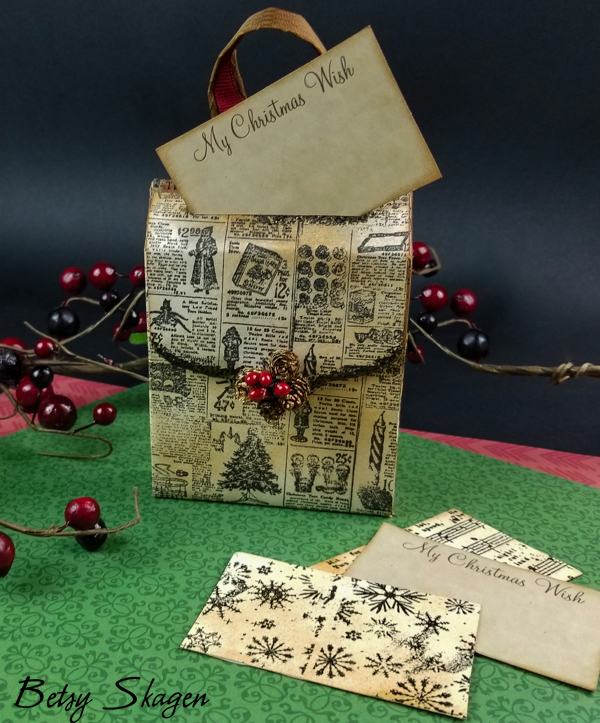
No one is too old to have a Christmas wish list, even if it is not the traditional list. Maybe your wish is for a new sweater or maybe you hope you can see a loved one soon.
Instead of writing your wish list down on a scrap of paper or in an app on your phone, why not create a lovely wish box?
There are endless options for the way you could use your wish box. ou could leave it in the front hall as a way for your family members to let you know what they are hoping for. Or you could create a special moment by passing it around the holiday dinner table and letting each guest write down their hope as a sort an informal prayer.
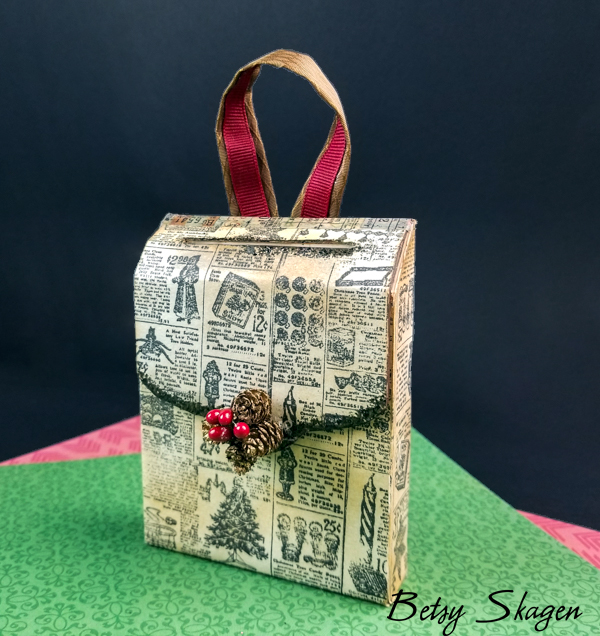
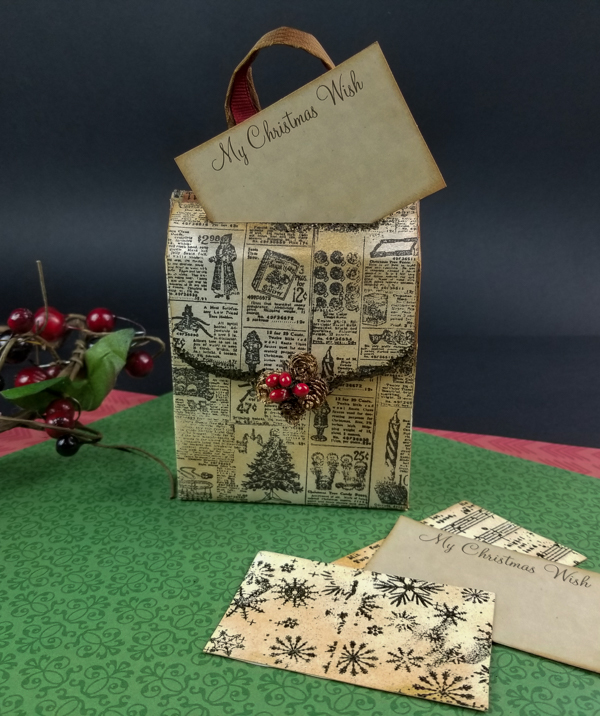
Whatever you use your Christmas Wish Box for, it is easy to create. Begin by assembling the Eileen Hull Post Box.
Adhere a micro magnet to the inside flap and a matching magnet inside the box so that the flap will snap shut.
Next, ink the Christmas Wishes Background Stamp with permanent black ink and stamp it repeatedly onto a 12 x 12 sheet of white cardstock. Let the ink dry and lightly blend tea colored ink over the entire surface.
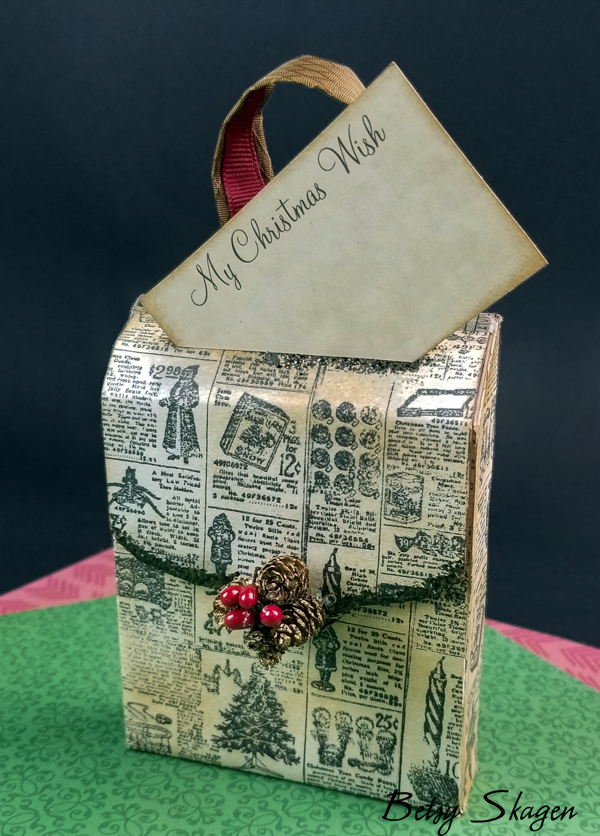
Adhere the stamped cardstock to the exterior of the box. Ink the edges of the box with Vintage Photo Distress Ink
To give the box a little extra texture and element of interest, apply embossing ink to the edge of the slot and the flap,. Then sprinkle Black Magic Molten Dimensions onto the ink and heat with a heat gun.
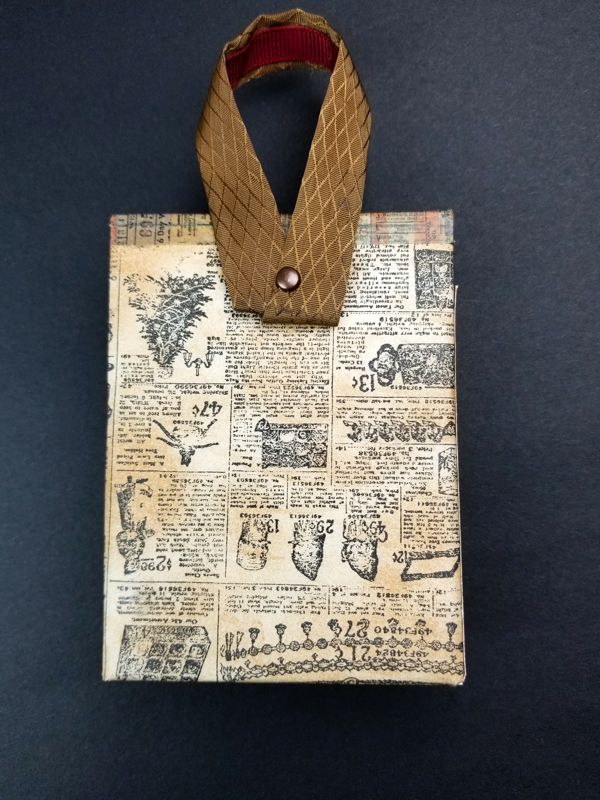
Glue a burgundy ribbon to a slightly wider brown ribbon. Form a loop with this combined ribbon and punch one hole into the two ends. Connect them together with a small copper brad. Glue the ribbon to the back of the box.
Finish the box by adhering some tiny pinecones to the front flap.
Next, use your computer to make multiple 3″ x 2″ Christmas Wish cards and print onto three sheets of paper. Blend Tea Dye ink on both sides of each paper.
Using Black Versafine ink, repeatedly stamp the Jingle Bells Background Stamp onto the back of one of your printed pages. Apply Black Magic Molten Dimensions over the ink, tap off the excess and heat with heat gun.
Repeat this process on the two remaining pages with the Snowy Skies Background Stamp and Christmas Wishes Background Stamp.
Lastly, cut apart all your cards and ink the edges with Vintage Photo ink and wish away!
Great Stuff
- Eileen Hull Post Box
- Christmas Wishes Background Stamp
- ingle Bells Background Stamp
- Eileen Hull Black Magic Molten Dimensions
- Stayzon Black ink
- Black Versafine ink
- Tea Dye Distress ink
- Vintage Photo Distress ink
- 2 micro magnets
- Burgundy ribbon
- Brown ribbon
- Copper brad
- Tiny pinecones or other small embellishment

clever – and lovely! Now stop getting me in the mood before Hallowe’en! LOL
great job!
I love your Christmas Wish box Betsy and all your stamps you used. Such vintage goodness. =)
Pingback: Teacup & Post Box Projects from the Educator Team
This wish list box is awesome Betsy! Your stamp works just perfectly on there and I love the lodge feel to it!
This is so pretty with the vintage newspaper DP you used – love the festive pinecone and berry !